

Ableton How To Draw Notes
How To Use The Piano Roll In Ableton
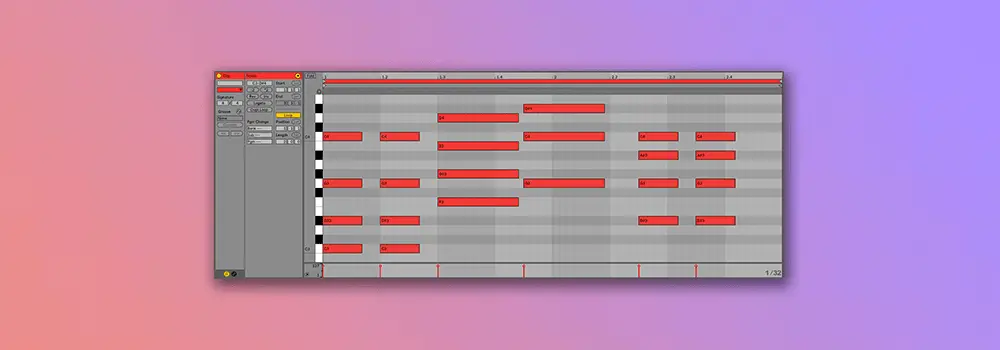
The Piano Roll is where ideas come to life. It is one of the most important features of any DAW and allows producers to create melodies, harmonies, basslines and rhythms. Becoming familiar with Live's Piano Roll is key to levelling up the quality of your productions.
In this guide, we will be exploring all aspects of the Piano Roll and answering the most common questions producers have about it.
- | What Is The Piano Roll?
- | How To Open The Piano Roll
- | How To Use The Piano Roll
- | Why Can't I Hear MIDI?
- | How To Resize The Piano Roll
- | How To Zoom On The Piano Roll
- | How To Adjust The Grid
- | How To Edit Velocity
- | How To Quantize MIDI
Without further adieu, let's get started!
| What Is The Piano Roll?
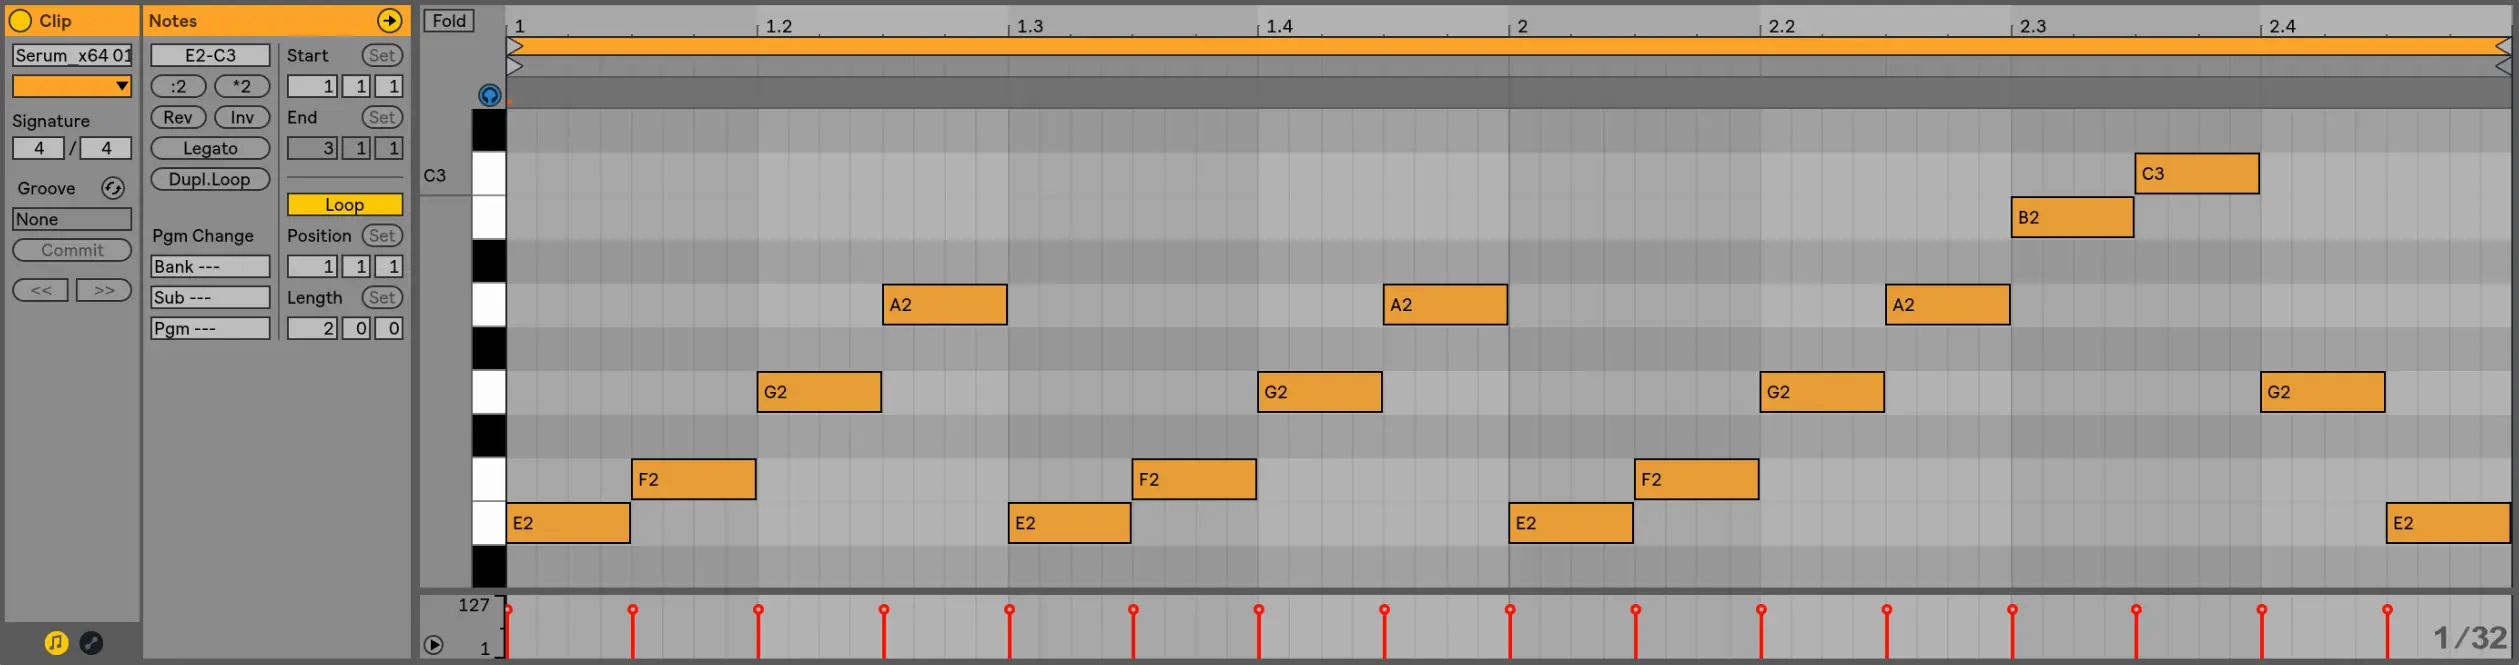
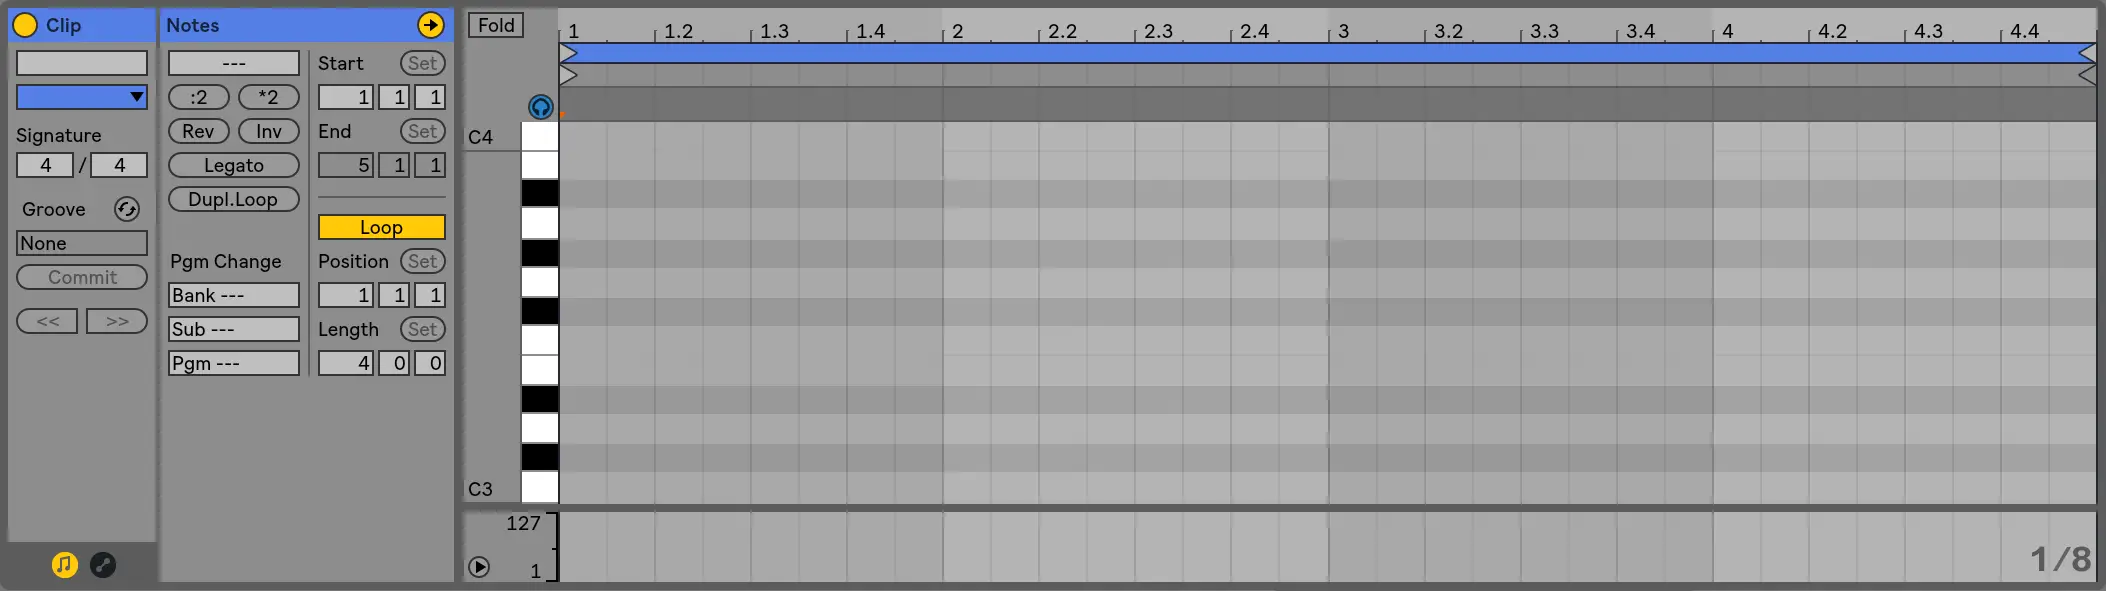
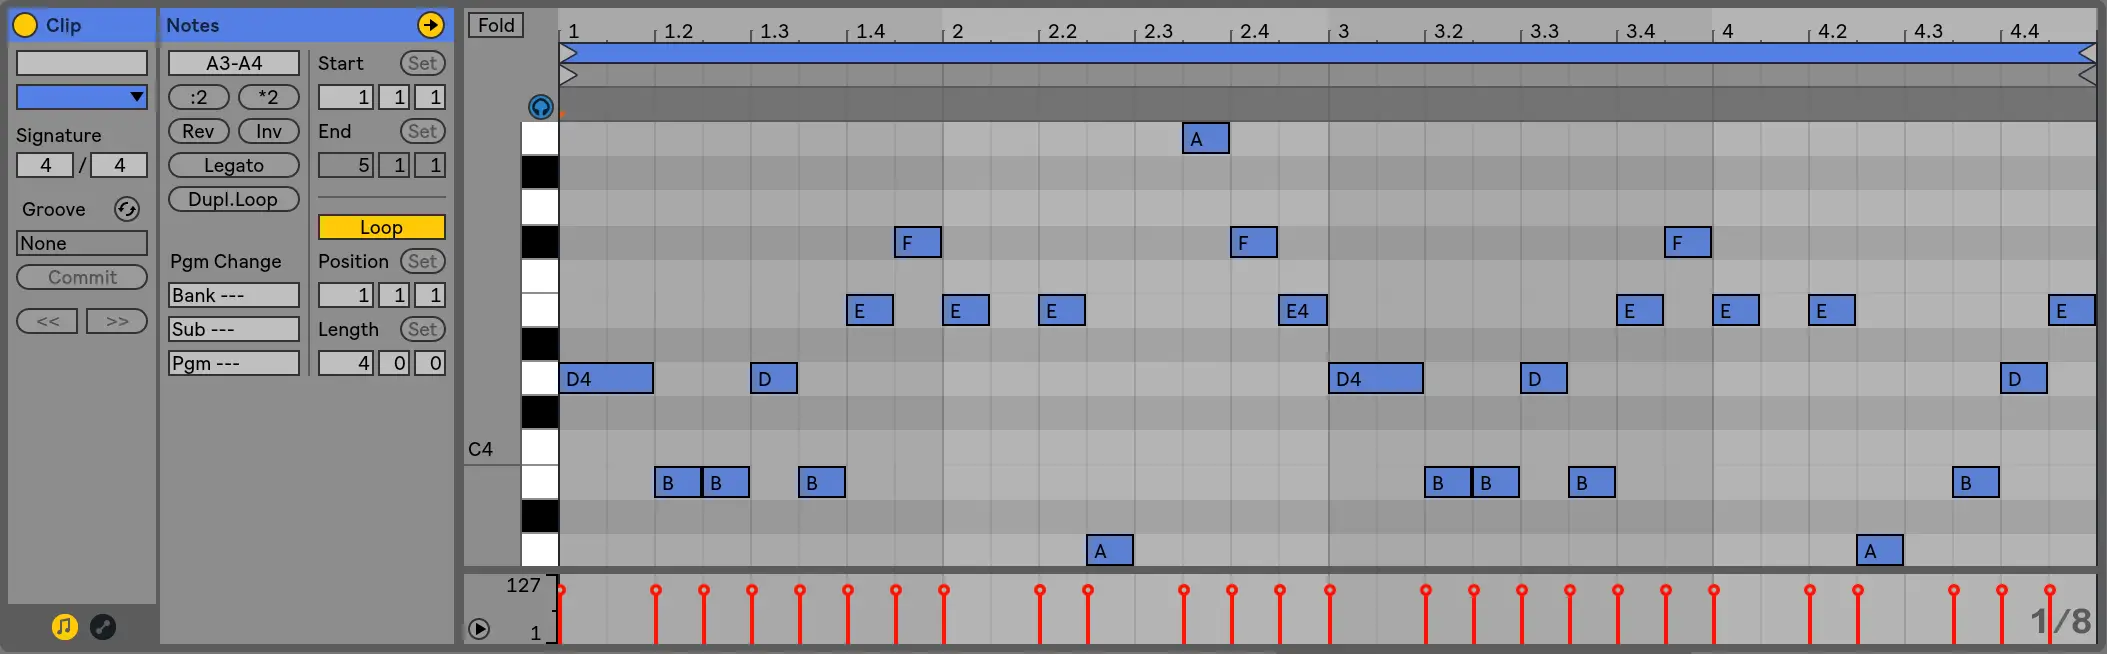
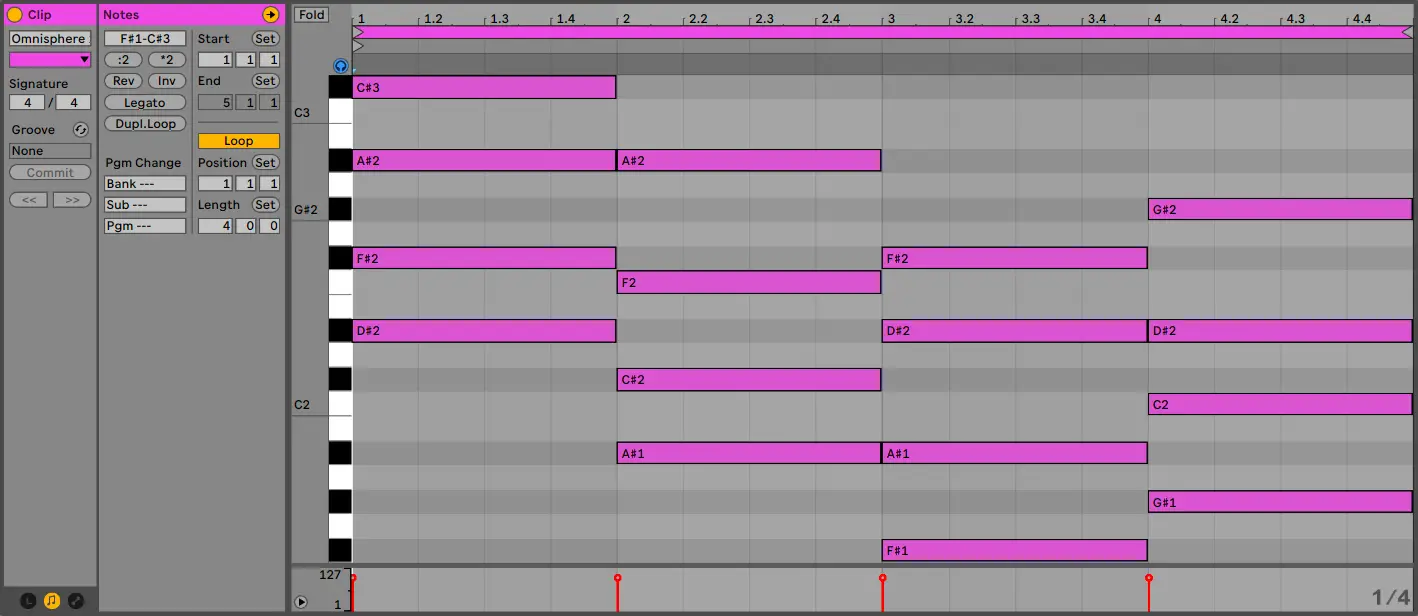
The Piano Roll is a graphical display of MIDI note data used to manually enter the pitch, length and velocity of notes. It is commonly used to create melodies, harmonies and chord progressions. It can also be utilized to create beats and rhythms. The vertical axis displays each note on the piano while the horizontal axis displays time measured in beats|bars.
| How To Open The Piano Roll
To open the Piano Roll from Arrangement View, double-click on the top section of a MIDI clip.
To open the Piano Roll from Session View, double-click on an empty MIDI clip slot or an existing MIDI clip.
| How To Use The Piano Roll
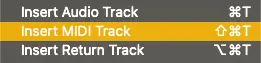
Step 1: Create MIDI Track
To access the Piano Roll, start by creating a MIDI track. Navigate to the Create menu at the top of the Live's interface and select 'Insert MIDI Track'. Alternatively, you can press [COMMAND + Shift + T] on Mac or [CNTRL + Shift + T] on Windows.
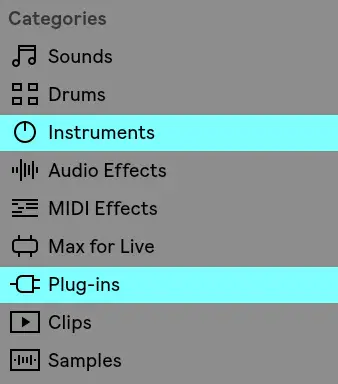
Step 2: Add Instrument Plugin
Next, navigate to Live's Browser and double-click on an Instrument Plugin from the 'Instruments' tab or from the 'Plug-Ins' tab if you have third-party plugins installed.
Step 3: Create MIDI Clip
Create a MIDI clip by highlighting a region of the timeline and pressing [COMMAND + Shift + M] on Mac or [CNTRL + Shift + M] on Windows.

Step 4: Open Piano Roll
Next, open the Piano Roll by double-clicking on the top colored region of the MIDI clip.
Step 5: Create MIDI Pattern
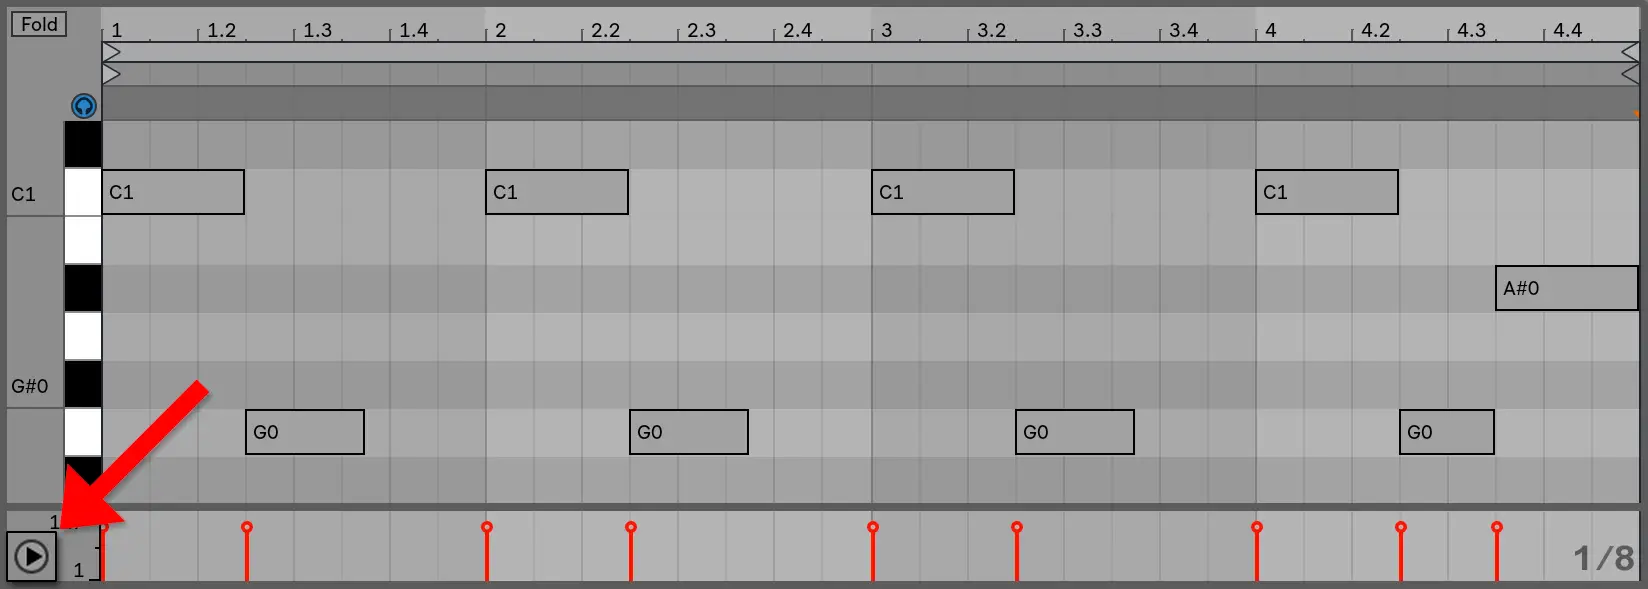
Lastly, create a MIDI pattern by first enabling Draw Mode. Simply press [B] on your keyboard or select the pencil icon in the top right section of the Live window. Now you can draw MIDI notes directly into the Piano Roll.
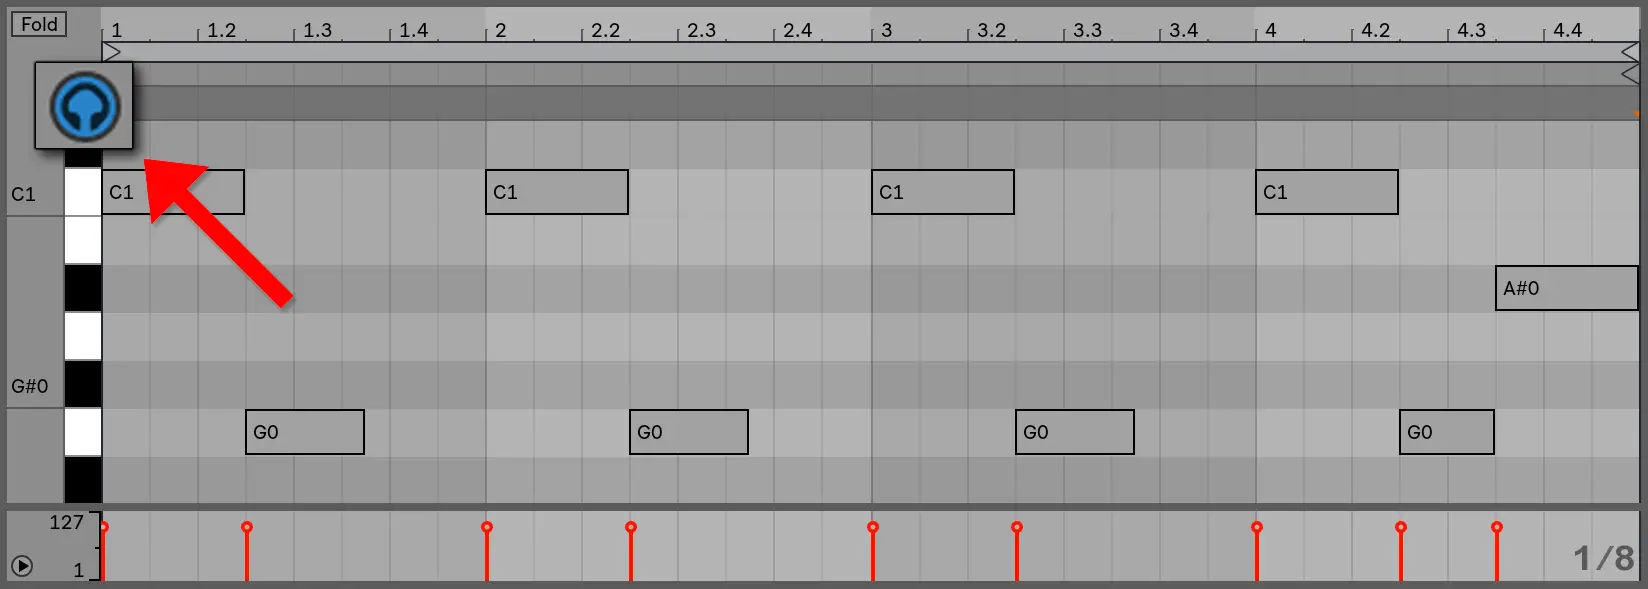
| Why Can't I Hear MIDI?
If you can't hear MIDI notes when using the Piano Roll, it's likely because you haven't enabled MIDI Editor Preview. This feature allows you to hear each MIDI note as it is drawn and edited within the Piano Roll. Simply click on the headphones icon above the vertical display of piano notes.
If you have enabled MIDI Editor Preview and you still can't hear MIDI notes, it's likely you haven't inserted an Instrument plugin onto the MIDI Track. Head to Live's Browser and double-click on an Instrument Plugin from the 'Instruments' tab or from the 'Plug-Ins' tab if you have third-party plugins installed.
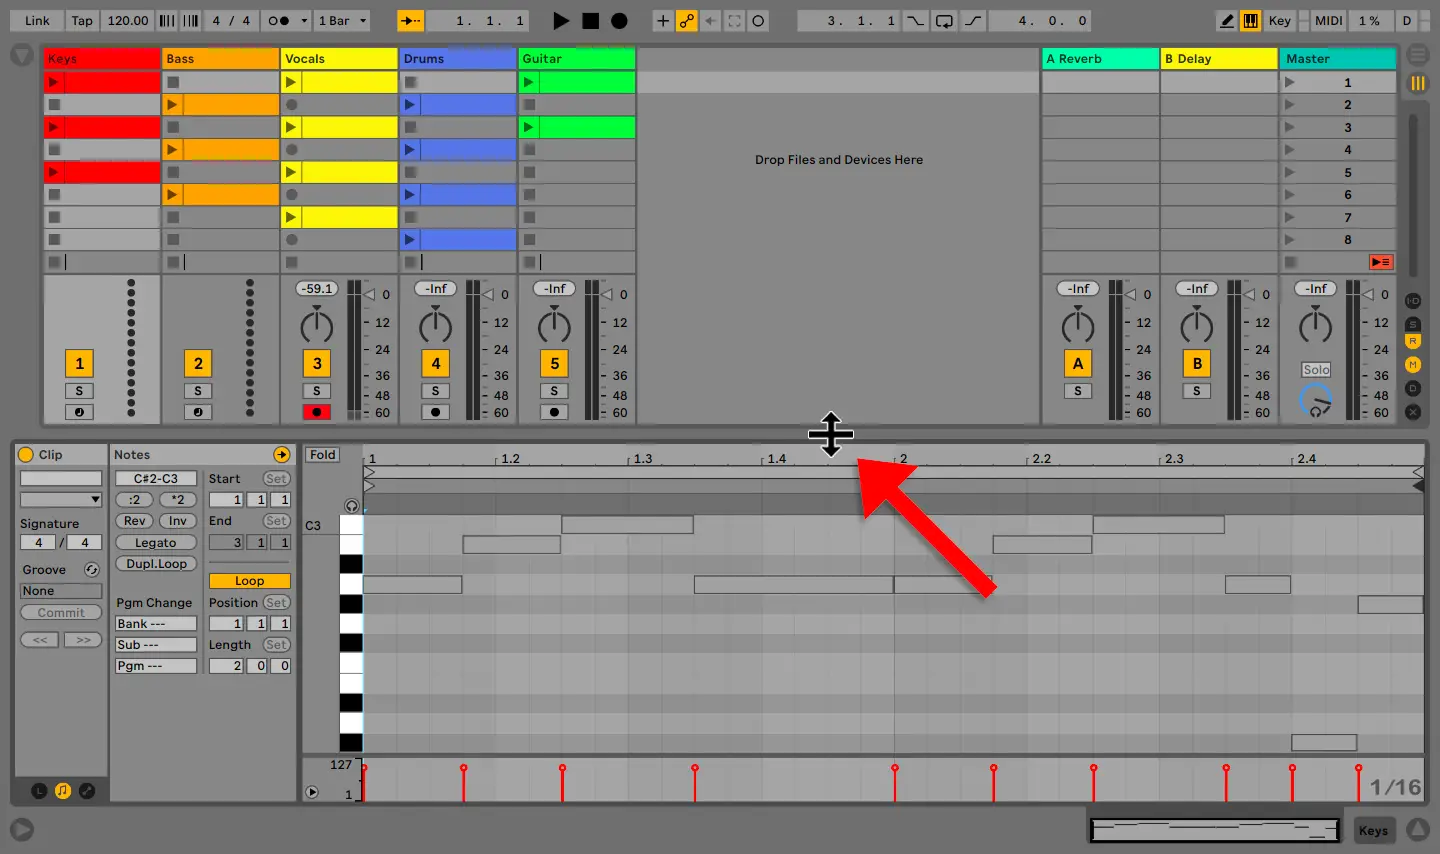
| How To Resize The Piano Roll
To resize the Piano Roll window, start by moving your mouse to the space between the Piano Roll and Session/Arrangement View Window. Once your cursor changes to the resize icon, simply left-click and drag up or down accordingly.
| How To Zoom On The Piano Roll
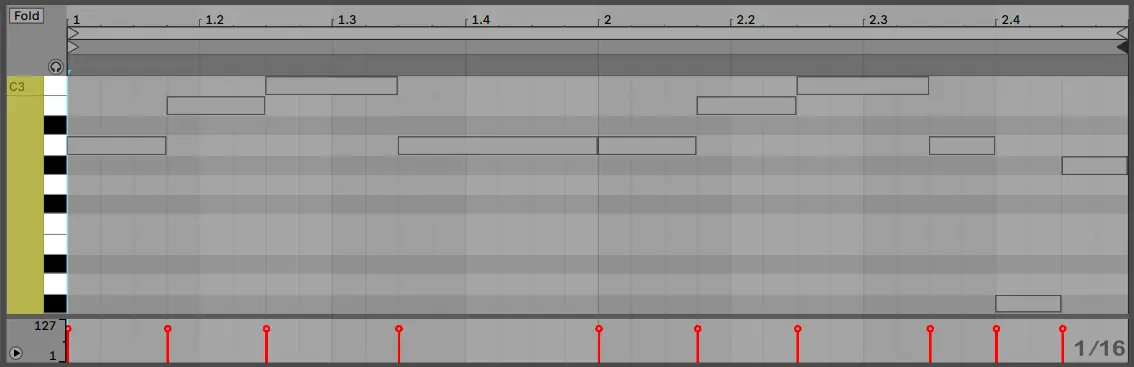
| Vertical Axis
All zoom commands for the vertical axis can be performed using the area to the left of the piano notes (highlighted yellow in the screenshot below).
• Left-click and drag up/down to scroll
• Left-click and drag left/right to adjust the zoom of the MIDI keys
• Double-click to instantly snap selected or all MIDI notes into view
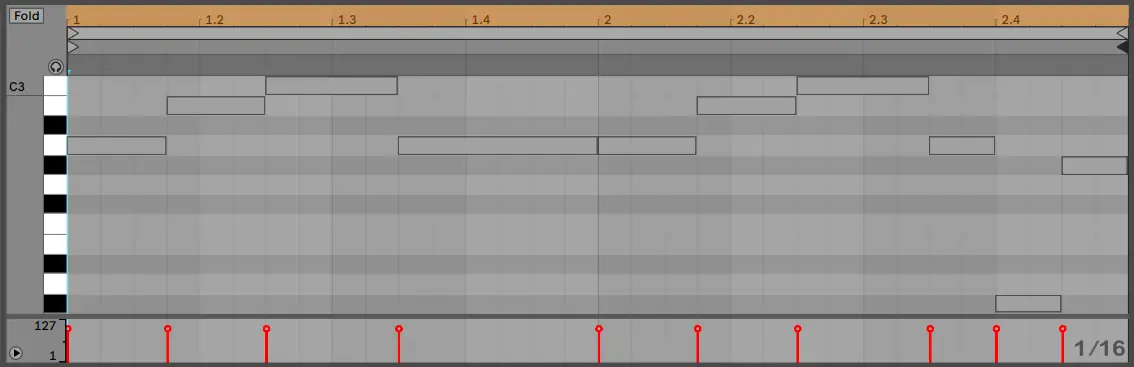
| Horizontal Axis
All zoom commands for the horizontal axis can be performed using the area at the top of the Piano Roll (highlighted orange in the screenshot below).
• Left-click and drag up/down to adjust the zoom of the MIDI clip length
• Left-click and drag left/right to scroll
• Double-click to instantly snap selected or all MIDI notes into view
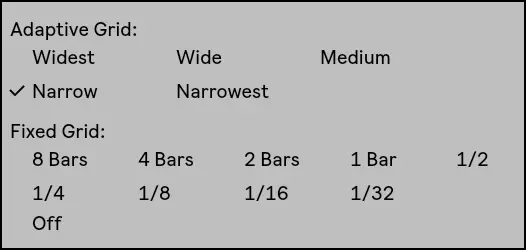
| How To Adjust The Grid
Adjusting the grid allows you to create more precise MIDI patterns. It enables you to position MIDI notes based on a particular beat subdivision. To adjust the grid of the piano roll, simply right-click anywhere on the Piano Roll grid and select from the Adaptive or Fixed Grid options. Pressing [ALT/Option] while dragging a MIDI note will temporarily disable grid snapping.
| How To Edit Velocity
Velocity is the force with which a note is played. It is the key to making MIDI performances sound human. To adjust the velocity of MIDI notes in the Piano Roll, head to the velocity editing section below the collection of MIDI notes. Each MIDI note is partnered with a corresponding velocity value. Increase and decrease the velocity of a MIDI note by adjusting the height of its velocity marker.
Manually adjust individual velocity makers and view precise velocity values by disabling Draw Mode. To draw freehand and quickly edit the velocity of a collection of MIDI notes, enable Draw Mode. To toggle on and off Draw Mode, simply select [B] on your keyboard or select the pencil icon in the top right corner of the Live window.
Another way to quickly edit velocity is to click on a MIDI note and drag up and down while holding [COMMAND] on Mac or [CNTRL] on Windows.
If you cannot see the MIDI velocity editor, click the small triangle towards the bottom left of the note editor window.
| How To Quantize MIDI
Step 1: Open Piano Roll
To quantize MIDI in Ableton, start by opening the piano roll. Simply double-click on the top section of a MIDI clip in Arrangement View or on a MIDI clip in Session View.
Step 2: Select MIDI Notes
Highlight the MIDI notes that you wish to quantize or press [COMMAND + A] on Mac or [CNTRL + A] on Windows to select all notes within the MIDI clip.
Step 3: Open Quantize Settings
Next, open the Quantize Settings by pressing [COMMAND + Shift + U] on Mac or [CNTRL + Shift + U] on Windows. Alternatively, you can right-click on the piano roll and select 'Quantize Settings'.
If you would prefer to instantly quantize a selection of MIDI notes using the most recently used quantize settings, simply press [COMMAND + U] on Mac or [CNTRL + U] on Windows.
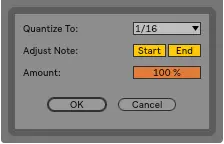
Step 4: Adjust Quantize Settings
Adjust the quantize settings to your preference and click'OK'.Your selection of MIDI notes will now be quantized to the grid.
If you are looking for a more in-depth breakdown of the features of Live's Piano Roll, click here to read Chapter 10 of Ableton's official manual.

Want To Know More?
Here at Live Aspects, we have dozens of useful lessons and tutorials created to enhance your music production skills and help speed up the learning process. You can access our huge range of music theory lessons and production tips and tricks here.

Benjamin Jones
Hi, my name is Ben. I live in Melbourne, Australia and I'm the founder of Live Aspects. I'm a DJ and producer with a bachelor's degree in Audio Production. I've spent the last eleven or so years addicted to learning Ableton and discovering the extraordinary ways producers around the world create their music. My goal is to provide eager producers with the tools and information they need to make amazing music and experience the thrill of music production.
Ableton How To Draw Notes
Source: https://liveaspects.com/how-to-use-the-piano-roll-in-ableton/
Posted by: mezadogese.blogspot.com
0 Response to "Ableton How To Draw Notes"
Post a Comment